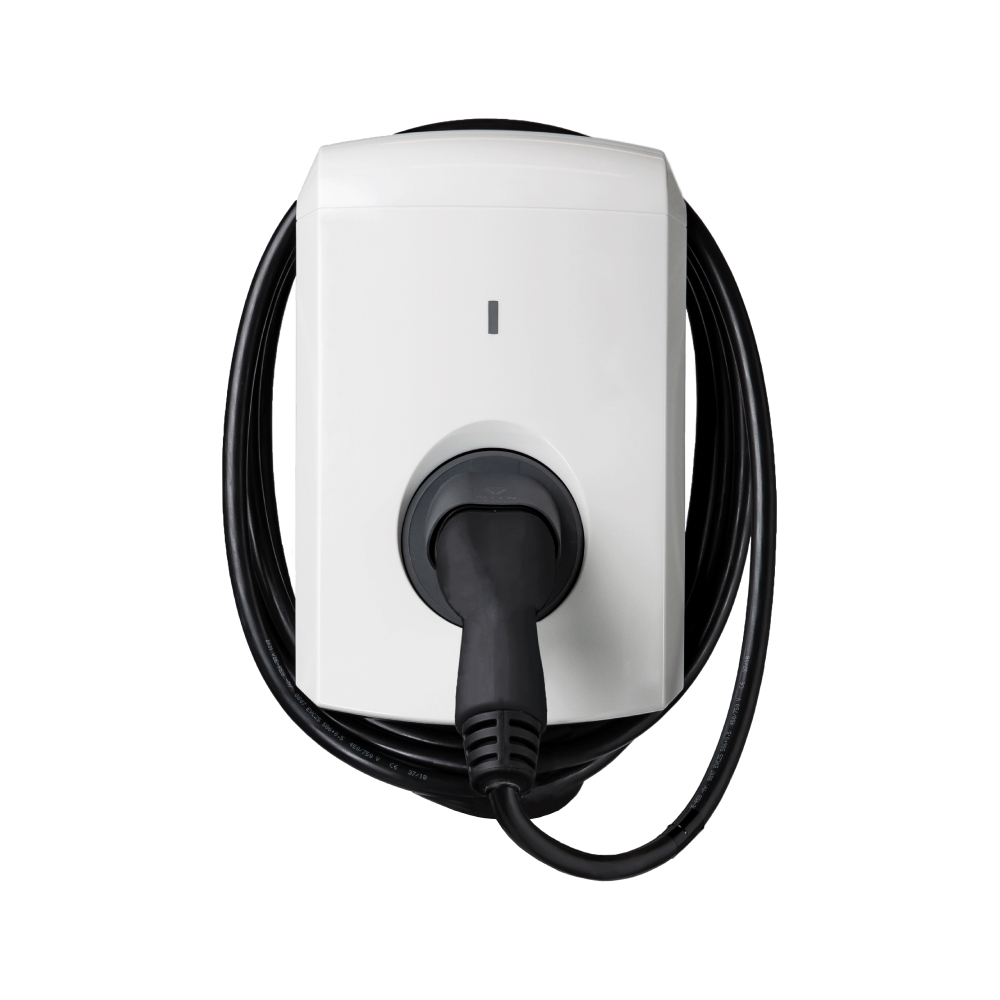
The Wallbox Pulsar Plus charging station not only offers fast and efficient charging but also boasts OCPP (Open Charge Point Protocol) support, allowing it to seamlessly connect to networks like ZAP2GO. Let's delve into the Wallbox Pulsar Plus, its OCPP capabilities, and the different connection options.
Smart Charging
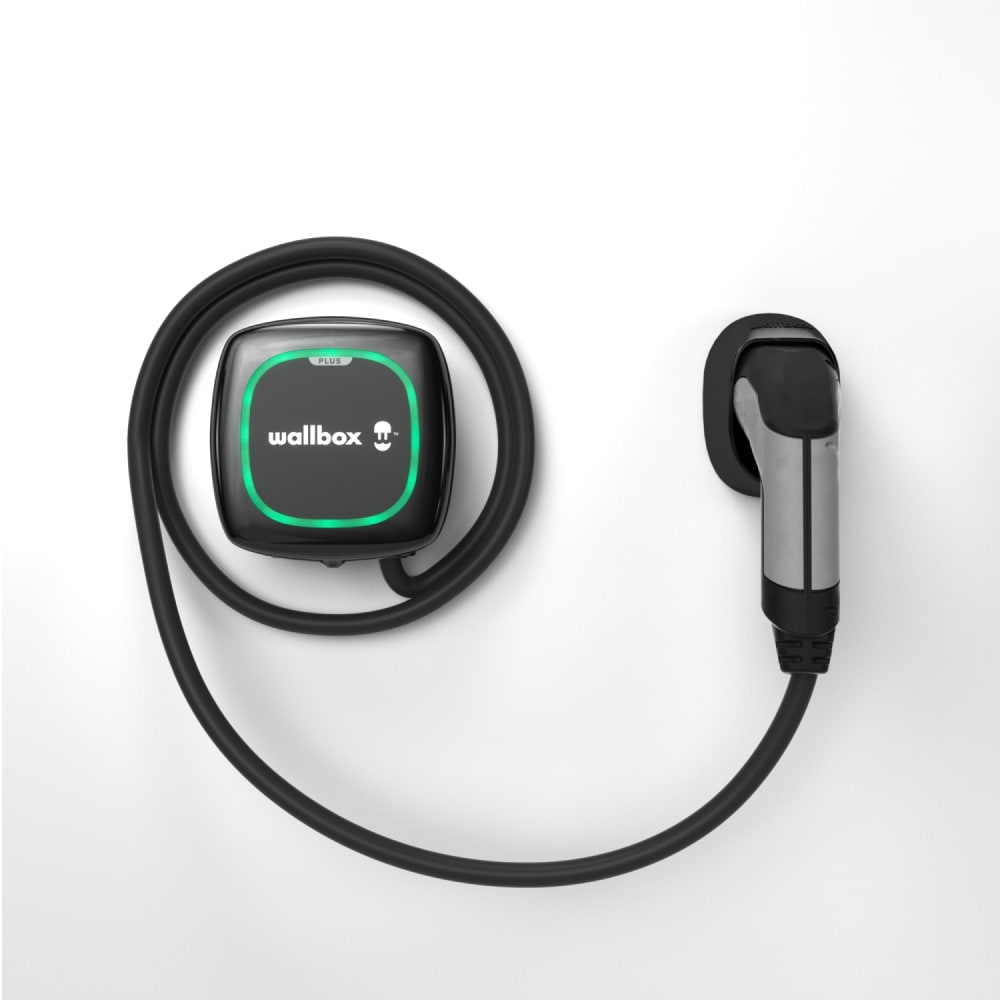
The Wallbox Pulsar Plus is designed with EV owners in mind. Whether you're a homeowner looking to charge your electric vehicle or a business owner seeking to offer charging services, this compact and powerful charging station has you covered.
OCPP Support
What sets the Wallbox Pulsar Plus apart is its support for OCPP. OCPP is a standardized communication protocol specially designed for exchanging data between charging stations and charging management systems. In essence, it's the language that allows your charging station to communicate seamlessly with central systems, like the ZAP2GO network.
Connecting Your Wallbox Pulsar Plus to ZAP2GO
To connect your Wallbox to the ZAP2GO network, you need to first download the ZAP2GO app on your mobile device. After downloading, create an account and select 'My chargers'. You will now be able to select your charger, and initiate the setup process. There are two ways to connect your charging station to our OCPP network:
Option 1: Via the myWallbox App
- Log in to the myWallbox app: The myWallbox app is available for both Android (Play Store) and iOS (App Store) devices.
- Add your charging station: If it's not already added, select your charging station within the app. To establish a connection with the central system, ensure that your charging station is connected to the internet via Wi-Fi or Ethernet.
- Access charger configuration: Navigate to the charger's start screen and press the "configuration" button (usually represented by a gear icon).
- OCPP control panel: If your charger is OCPP-compatible (look for the OCPP button), proceed to the OCPP control panel.
- Configure and save: Set the OCPP parameters as needed and press the "SAVE" button. Your Wallbox Pulsar Plus will restart and establish a connection.
Option 2: Via the myWallbox Portal
- Log in to the myWallbox portal: Access your myWallbox account and go to the charger's page.
- Add your charging station: If it's not already added, select your desired charger. Ensure that your charging station is connected to the internet via Wi-Fi or Ethernet.
- Charger status page: Navigate to the charger status page and click on the OCPP tab (only displayed if your charger is OCPP-compatible).
- Configure and save: Set the OCPP parameters to your preferences and press the "SAVE" button.